How to manually connect to Wi-Fi on Windows
Reset your wifi password click here get idea
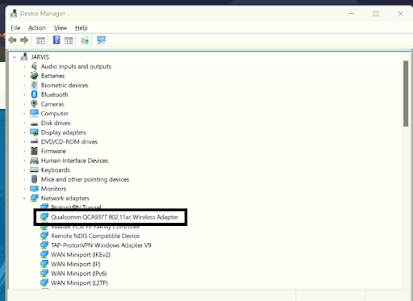
For instructions on how to see your Wi-Fi adapter, please click here.
You can try this option; otherwise, purchase a USB to Wi-Fi.(Try with Windows Update, too.)
How to remove the SSID:
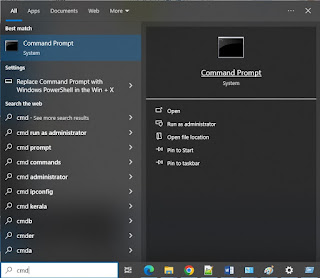
Start-----cmd ----Right click run as administrator ----ok-------netsh wlan show profiles
netsh wlan delete profile name=wireless profile name (EG=Amrita-5G-ICTS)
Without Bluetooth, click here.
(Note If you purchase a USB to Wi-Fi device, please disable the built-in Wi-Fi.)
The MediaTek Wi-Fi 6 MT7921 Wireless LAN Card requires manual SSID configuration to function properly.
The Intel(R)Wi-Fi 6E AX211 160MHz Wireless Adapter requires manual SSID configuration to function properly.
Click to Advanced Settings
Keyboard Not Working WhenTyping Wifi Password & Cortana|
Note--------
Go to control panal
Category click to small Icon
Click to Network and sharing center
Set up a new connection
Manually connect to a wireless network work
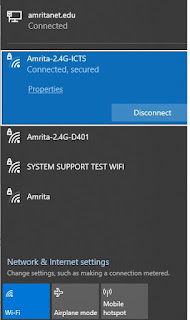
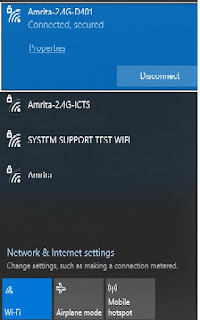
Enter your room wifi ssid Amrita-5G-room number
Security type wpa2-enterprise
Next
Click to conntion settings
Security tap click
Setclick
Untick the very the servers iden.,.. Certificate
Click okay
Advance setting
Tick the specify authentication mode
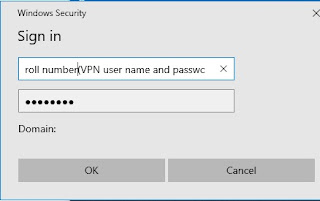
Then try to connect now asking user name and password
If any authentication problem please reset the password
Can't Type Wifi Password In Windows 10
Start----Search button--Type(cmd)(Right click ruu as administrator) ----ctfmon.exe
or
Start-Run-regedit
[Tip] Can't type in search bar / wifi password / explorer search / ctfmon.exe and etc. problem FIX.
To enable DHCP to obtain a TCP/IP configuration automatically on Windows , use these steps:
Open Settings on Windows.
Click on Network & Internet.
Click on Ethernet or Wi-Fi
Click the network connection.
Under the “IP settings” section, click the Edit button.
or
Open Control Panel.
Click on Network and Internet.
Click on Network and Sharing Center.
On the left pane, click the “Change adapter settings” option.
Right-click the network adapter and select the Properties option.
Select the “Internet Protocol Version 4 (TCP/IPv4)” option.
Click the Properties button.
Select the “Obtain an IP address automatically” option.
Select the “Obtain the following DNS server address automatically” option.
Click the OK button.
After completing the steps, the statically assigned TCP/IP configuration will no longer be available, and the computer will automatically request a dynamic network configuration from the network.
Disabling the private DNS on a mobile device will result in the restoration of internet connectivity.



.jpg)


0 Comments